Installing a graphics card is a fundamental process for upgrading a computer’s graphical capabilities, whether for gaming, graphic design, or other intensive tasks. Here’s a comprehensive guide on how to install a graphics card:
Introduction to Installing a Graphics Card
- Understanding Graphics Cards
- Definition and purpose of a graphics card (GPU)
- Importance of choosing the right GPU for specific needs (e.g., gaming, professional applications)
- Preparation and Considerations
a. Checking Compatibility
- Verifying compatibility of the graphics card with the motherboard and power supply
- Ensuring the computer case has adequate space and cooling for the new GPU
b. Gathering Necessary Tools
- Tools required: screwdriver, antistatic wrist strap (optional), thermal paste (if replacing heatsink)
Steps to Install a Graphics Card
- Preparing the Computer
a. Powering Down the Computer
- Shutting down the computer and unplugging it from the power source
- Discharging any static electricity by touching a metal surface
b. Opening the Computer Case
- Removing the side panel of the computer case
- Locating the PCIe slot where the graphics card will be installed
- Removing the Old Graphics Card (If Applicable)
a. Uninstalling Drivers
- Uninstalling existing graphics card drivers from the operating system
- Using a driver removal tool if necessary
b. Removing the Old GPU
- Disconnecting any power cables or connectors attached to the current graphics card
- Releasing the retention mechanism (usually a clip or screw) that secures the GPU to the case
- Installing the New Graphics Card
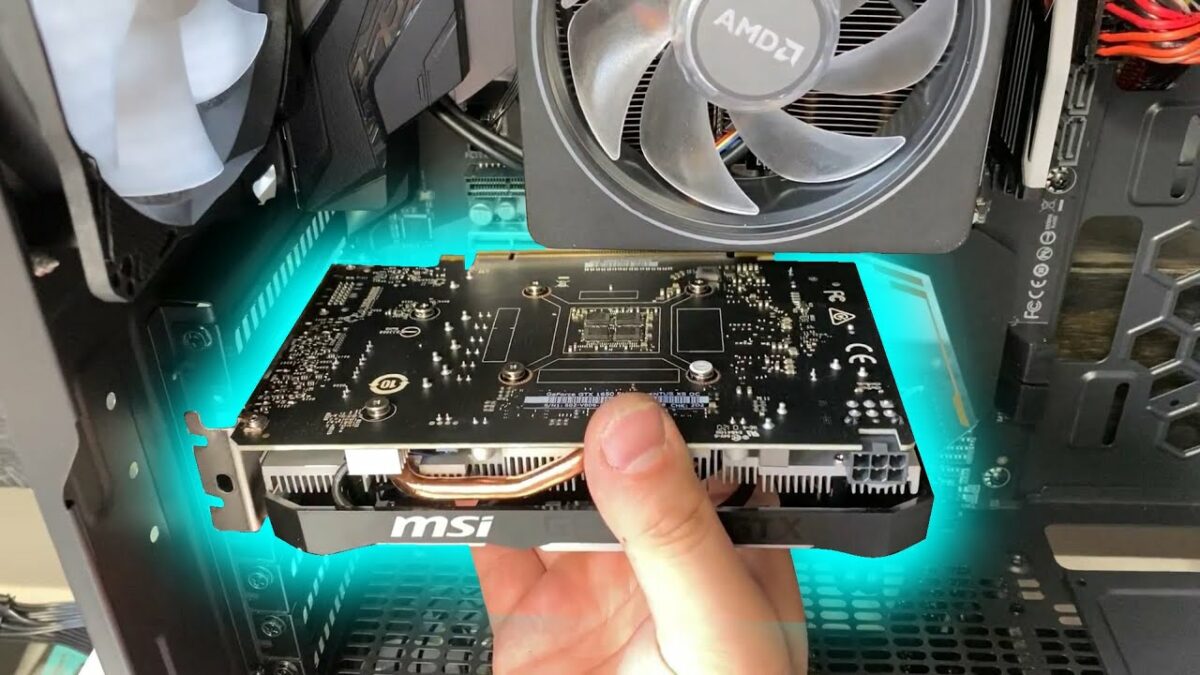
a. Inserting the Graphics Card
- Aligning the new graphics card with the PCIe slot on the motherboard
- Gently but firmly inserting the card into the slot until it clicks into place
b. Securing the Graphics Card
- Using screws to secure the graphics card to the case (if required)
- Ensuring the card is stable and properly seated in the PCIe slot
- Connecting Power and Cables
a. Power Connectors
- Attaching the necessary power connectors from the power supply to the graphics card
- Checking the power requirements and ensuring adequate power delivery
b. Reassembling the Computer
- Closing the computer case and securing the side panel
- Reconnecting peripherals and cables to the computer
- Installing Drivers and Testing
a. Installing Graphics Drivers
- Booting up the computer and installing the latest graphics card drivers
- Downloading drivers from the manufacturer’s website or using included installation media
b. Testing the Graphics Card
- Running benchmarks or graphical stress tests to ensure the GPU functions correctly
- Checking for visual artifacts, overheating, or performance issues
Troubleshooting and Tips
- Common Issues and Solutions
a. Driver Installation Problems
- Resolving driver conflicts or installation errors
- Using safe mode or alternative methods for driver installation
b. Compatibility Issues
- Addressing compatibility issues with older motherboards or operating systems
- Updating motherboard BIOS if necessary
- Safety and Maintenance
a. Antistatic Precautions
- Using an antistatic wrist strap or mat to prevent static discharge
- Handling the graphics card and components with care to avoid damage
b. Regular Maintenance
- Monitoring GPU temperatures and cleaning dust from the graphics card and case
- Applying new thermal paste to the GPU heatsink when necessary
Conclusion
Installing a graphics card can significantly enhance a computer’s performance in graphical applications and games. By following this detailed guide, users can safely and effectively upgrade their system with a new GPU, ensuring compatibility, proper installation, and optimal performance.