How to Convert Your Old Windows Laptop into a Personal Cloud Server (Home NAS) Using TrueNAS
Through the process of repurposing an old Windows laptop into a personal cloud server or a home NAS (Network-Attached Storage), one may effectively prolong the lifetime of the laptop while also getting access to data, media, and backups in a centralized and private manner. Users are able to construct a storage solution that is both safe and efficient without having to depend on commercial cloud services when they utilize TrueNAS, which is a powerful open-source operating system. It is possible to construct a private server that is constantly on and that saves documents, movies, and other material that can be accessed from any location on your home network by using the technology that is already in your possession. It is possible for your laptop to function as a dependable personal cloud hub if it is configured appropriately. This would combine the benefits of cost-effectiveness, data privacy, and the possibility for home automation. This strategy is especially tempting to customers who are looking for a means to circumvent cloud systems that are dependent on subscriptions and who want to maintain control over their data.
Making Preparations for the Installation of TrueNAS on Your Laptop
It is important to evaluate the capabilities of your laptop’s hardware before installing TrueNAS. TrueNAS needs adequate resources in order to function without any hiccups, thus it is important to take into account the amount of RAM, storage space, and CPU speed that are available. Existing data should be backed up, since the installation will delete the system that is already in use. Disconnect any peripherals that aren’t essential, and check that your network interface is steady so that you may access it remotely in the future. Through the use of the TrueNAS installer, it is vital to create a bootable USB drive. Additionally, validating the integrity of the ISO file guarantees a clean installation that is free of errors and corruption.
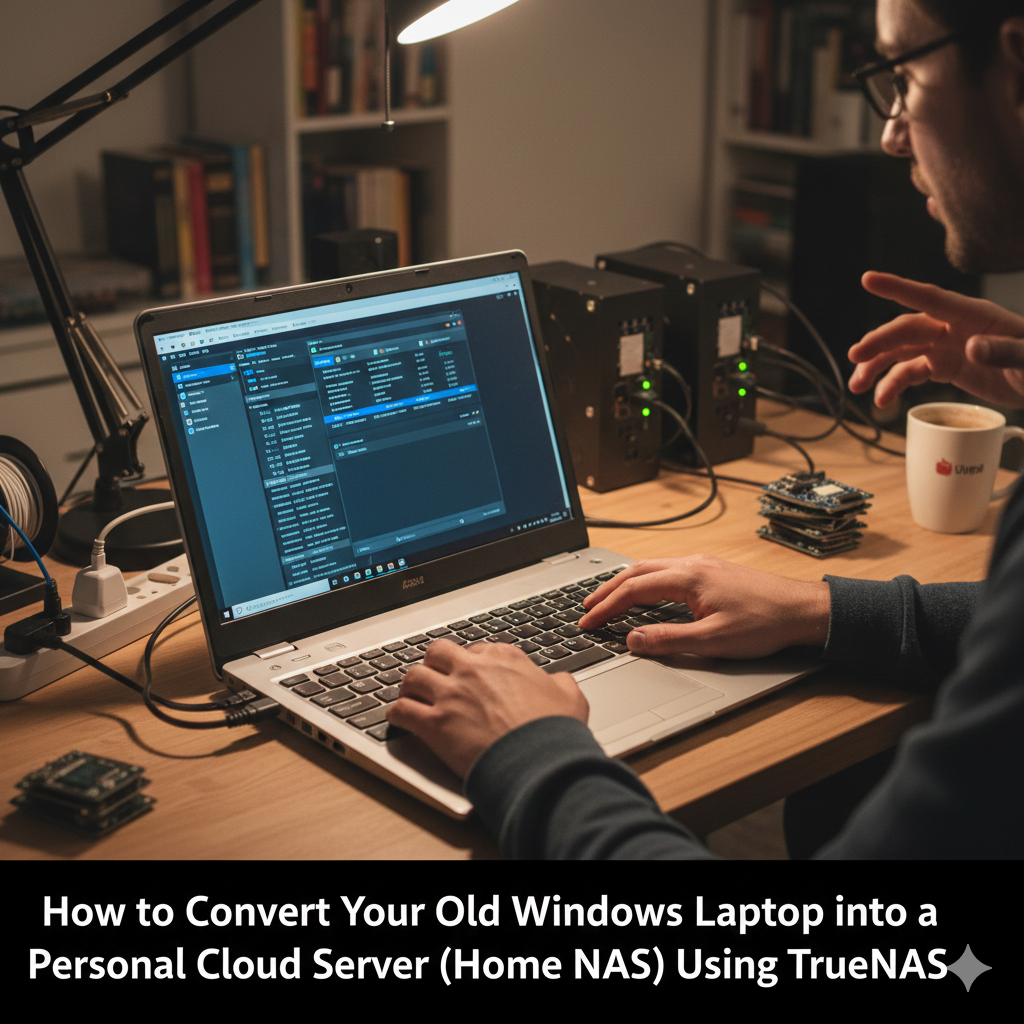
Setting up TrueNAS on Your Computing Device
For the purpose of starting the TrueNAS installation, boot your laptop from the USB device that has been prepared. You will need to pick the installation disk and adjust basic settings by following the instructions that appear on the screen. TrueNAS has a user interface that is easy to understand and use for partitioning, storage allocation, and basic computer network configuration. The selection of the appropriate drive for installation is of the utmost importance throughout this procedure in order to prevent the inadvertent deletion of vital information. Once the installation is finished, your laptop will be transformed into a fully working network attached storage (NAS) system that is able to manage file storage, sharing, and basic server tasks.
The process of configuring data sets and storage pools
In order to handle data in an effective manner, TrueNAS makes use of storage pools and datasets. Once the installation is complete, you will need to setup your storage pool by merging any accessible partitions or disks. With the help of datasets, you are able to partition your data into distinct categories for a variety of purposes, including document archives, backups, and more. Optimization of performance and simplification of future growth are both achieved via proper allocation. In order to provide enterprise-grade dependability on a home system, it is necessary to enable technologies such as compression and snapshots. These capabilities improve data integrity and make it possible to recover from inadvertent deletions or corruption.
Establishing Access to the Network
After the storage has been established, you will need to set up network access in order for your devices to use the NAS. Through its support for the SMB, NFS, and AFP protocols, TrueNAS makes it possible to access data from devices running Windows, macOS, and Linux. In order to guarantee a constant connection, you need either assign static IP addresses or activate DHCP reservations. Users have the ability to establish shared folders with permissions that are personal to them, allowing them to manage who may access or write data. The correct setup of the network guarantees that file transfers will go smoothly and that the security of all linked devices will be maintained.
Installing Safety Precautions and Measures
It is necessary to take security precautions while using a personal cloud server in order to avoid unwanted access. For distant connections, it is recommended to enable password-protected accounts, implement robust encryption for critical information, and setup firewall rules or virtual private network access. TrueNAS firmware and plugins should be updated on a regular basis to guarantee that security fixes are deployed in a timely manner. When you use your old laptop as a network attached storage (NAS), it is important to carefully monitor access logs and configure permissions in order to protect both your privacy and the integrity of the system.
Adding Extensions and Plugins to Your Website
TrueNAS is compatible with a wide range of plugins, which allow it to enhance its capability beyond simple file storage. An increase in usefulness may be achieved by the installation of media servers, backup systems, and cloud synchronization technologies. Your ability to run extra services, such as Plex, Nextcloud, or scheduled backup processes, is made possible via plugins, which do not interfere with the basic operation of your NAS. In order to preserve system speed while simultaneously growing the capabilities of your home cloud server, it is important to choose just the plugins that are essential.
Ongoing upkeep and surveillance of the facilities
Continuous monitoring of the storage’s health and the performance of the system is required for the maintenance of a home network attached storage (NAS). The dashboards that are included with TrueNAS let users to monitor the temperature, network activity, and drive utilization. It is possible to assure that operations will run smoothly over time by scheduling regular checks, checking snapshots, and clearing temporary files. In order to prevent unwanted access and maintain the security and dependability of your personal cloud server for long-term usage, it is important to do periodic checks of user permissions and network settings.
Utilizing Your Network Attached Storage for Your Daily Activities
Upon completion of the necessary configurations, your repurposed laptop has the potential to serve as a central hub for the sharing of files, the streaming of media, backups, and remote access. Documents may be accessed without any difficulty by devices that are linked to your home network, and remote access over encrypted channels enables you to be productive from any location. You are able to build a cost-effective, private, and adaptable cloud solution by transforming an outdated Windows laptop into a network attached storage (NAS) powered by TrueNAS. This solution allows you to maintain control over your data while also making the most of the hardware’s usefulness.