How to Stop Windows Bluetooth from Auto-Switching to Hands-Free Telephony Mode During Gameplay
It is possible to have a smooth experience while gaming on Windows using a Bluetooth headset, which provides wireless audio independence without the clutter of connections. On the other hand, a significant number of customers have a frustrating issue: while they are playing a game, Windows will sometimes automatically convert the Bluetooth headset to the Hands-Free Telephony (HFP) functionality. The primary purpose of this mode is to facilitate voice conversation. It dramatically lowers the quality of the audio, resulting in a sound that is tinny and low-fidelity, which may spoil intense gaming or streaming interactions. The system will normally exhibit this behavior when it recognizes a communication application or when it reads audio signals from games as indicating a need for voice input. It is crucial for gamers and streamers who are looking for continuous premium sound to have a solid understanding of why this occurs, how Windows handles Bluetooth profiles, and how to modify settings in order to keep the audio quality good.
On Windows, gaining an understanding of Bluetooth Audio Profiles
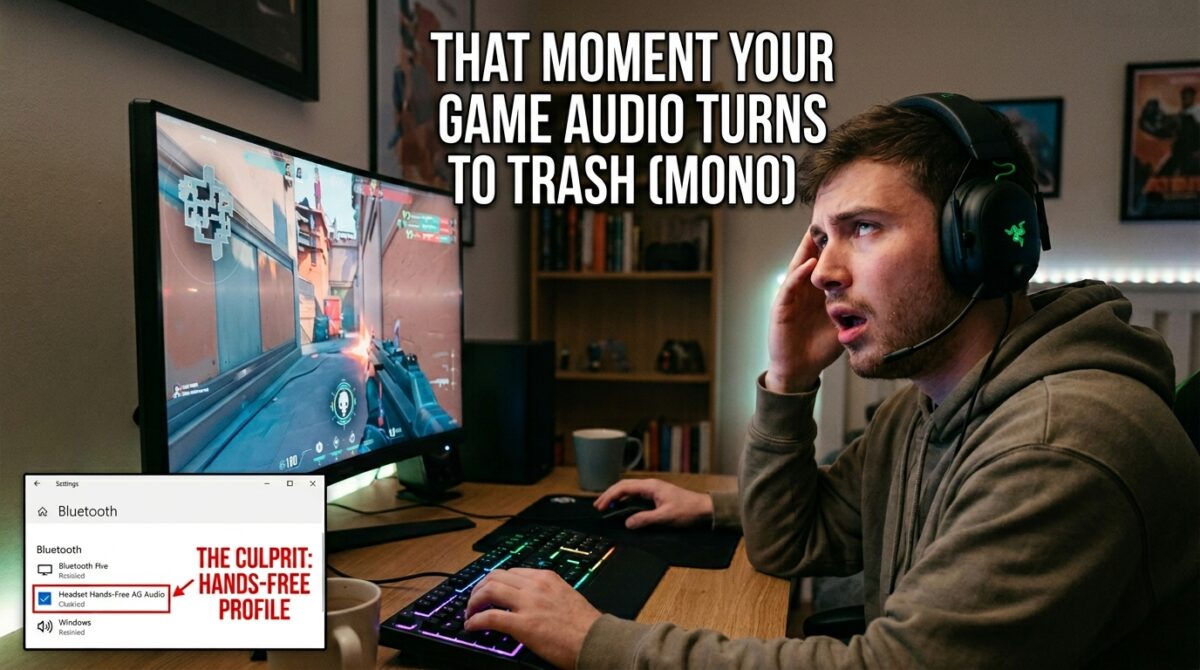
Bluetooth headsets are capable of supporting a variety of audio profiles, the most popular of which are the Advanced Audio Distribution Profile (A2DP) for high-quality stereo sound and the Hands-Free Profile (HFP) for voice calls. Also supported are other audio profiles. Windows will transition between these profiles in a dynamic manner based on the activities that it detects. When compared to HFP, which is restricted to narrowband speech and is geared for telephone calls, A2DP offers a high-quality audio experience that is ideal for gaming and music. In the case that Windows perceives input from programs such as voice chat tools, microphones, or system alerts as a telephony event, the operating system may automatically convert to the highest possible frequency (HFP). It is essential to have a solid understanding of these profiles and their functions in order to avoid accidentally switching between them and to keep the audio quality constant.
Explaining Why Auto-Switching Occurs While Playing the Game
During gaming sessions, Windows may mistakenly activate HFP if a program accesses the headset microphone or initiates a communication event (also known as a communication event trigger). There are some game elements that may notify the system to swap profiles automatically. These features include in-game voice chat and integrated speech recognition. It is also possible to customize the communications settings of Windows in such a way that they suppress other noises once communication activity is detected, which further prompts the transition to hands-free mode. As a precautionary measure, the system may reduce the audio quality even in the absence of active voice input, which may result in a decrease in the quality of the sound of the game or music. When consumers have a thorough understanding of these triggers, they are able to determine the underlying reason of audio disturbances.
Turning off the Automatic Communications Mode function
There is a built-in feature in Windows that allows you to modify the audio while you are engaging in communication activities. Whenever the system detects communication activity, users have the ability to set it to “Do nothing” by going to the Sound Settings menu and selecting the Communications tab. Windows will not automatically reduce the volume or swap profiles while you are playing a game because of this. Changing this parameter is often the most effective initial step in preventing auto-switching and preserving constant A2DP stereo quality. This is particularly true for Bluetooth headsets that are capable of supporting high-fidelity audio.
Management of Bluetooth Drivers and Configurations for Devices
It is very necessary to check that the drivers for the headset and the Bluetooth adapter are up to date in order to guarantee dependable audio performance. There is a possibility that outdated or generic drivers would incorrectly interpret device signals, which will result in an unnecessary activation of HFP. Utilizing Device Manager, users have the ability to update drivers, install software that is particular to the manufacturer, or check that the headset itself has firmware upgrades. Some headsets come with companion software that enable users to lock the audio profile to A2DP. This gives users greater control over the behavior of the auto-switch feature and prevents audio quality from dropping unexpectedly during intensive games.
Instructions for Setting Up Voice Chat and Gaming Applications
In some circumstances, games and voice chat programs have the ability to force profile switching by accessing the microphone on the headset. It is important for users to verify the audio settings inside these programs to ensure that they have explicitly selected the audio device and profile that they want to use. It is possible to lessen the possibility of Windows switching to HFP by using push-to-talk capabilities or disabling microphone access that is not very essential. Additionally, several apps provide audio routing to certain devices, which may further separate gaming audio from voice input features. This helps to maintain the high-quality stereo experience without any disruptions.
Maintaining Audio Consistency Through the Use of Alternative Workarounds
Alternative methods may assist in maintaining steady audio for consumers who continue to suffer auto-switching throughout their session. It is possible to completely circumvent Windows’ automated profile management by using cable connections, USB sound cards, or external Bluetooth adapters that only support A2DP. Additionally, there are users that create virtual audio devices that provide stereo sound straight to the headset, so eliminating interference from the HFP profile. These solutions provide a more regulated audio environment, which guarantees that the sound of gaming will continue to be immersive and will not suffer from any unexpected deterioration.
Performance Evaluation and Monitoring of Bluetooth Connectivity
Immediately after the application of alterations to settings or the implementation of workarounds, users should conduct rigorous testing of their configuration under actual gaming situations. Monitoring the audio quality, latency, and functioning of the microphone not only guarantees that improvements are successful but also prevents the introduction of new problems. It is possible to verify if the headset is able to sustain A2DP mode consistently by simulating common gaming situations. These scenarios include voice chat, in-game alerts, and background programs. Because Windows updates or driver changes might reset configurations, it is advised that you do periodic checks. This is because it is necessary to reapply settings in order to keep the sound quality unbroken and of good quality.
The process of optimizing Windows for stable audio from Bluetooth gaming
In order to keep the Bluetooth audio steady when gaming, it is necessary to configure the system settings, manage the drivers, and configure the applications. The most important things to take in order to avoid HFP switching are to disable automatic communication adjustments, update drivers, and manage access to microphones. It is possible to further improve stability by using complementary solutions, such as the use of specialized adapters or virtual audio routing. By gaining a knowledge of how Windows manages Bluetooth profiles and putting these ideas into action, users will be able to experience immersive, high-fidelity music while playing games without experiencing any disruptions, therefore maintaining both performance and pleasure.